


RedHat : access.redhat.com/security/cve/cve-2020-25705
1. iptables
(1) iptables 설치 확인
[root@test ~]# rpm -qa iptables-services
[root@test ~]# yum list |grep iptables-services
(2) iptables-save 설치 및 iptable enable 및 firewalld disable
[root@test ~]# systemctl stop firewalld
[root@test ~]# systemctl disable firewalld
[root@test ~]# yum install iptables-services : 설치 된 경우에는 미실행
[root@test ~]# systemctl enable iptables.service
[root@test ~]# systemctl start iptables.service
[root@test ~]# systemctl status iptables.service
(3) iptables 추가
[root@test ~]# iptables -I OUTPUT -p icmp --icmp-type destination-unreachable -j DROP
: 프로토콜은 icmp이며 외부에서 들어오는 icmp destination-unreachable 패킷에 대해서 비활성화한다.
-I : 새로운 규칙을 삽입
OUTPUT : 호스트 컴퓨터에서 발생하는 모든 패킷
-p : 특정 프로토콜과의 매칭
-j : 규칙에 맞는 패킷을 어떻게 처리할 것인가를 명시
DROP : 패킷을 버림(패킷이 전송된 적이 없던 것처럼)
(4) iptables 저장
[root@test ~]# service iptables save
(5) 확인
[root@test ~]# iptables -nvL
pkts bytes target prot opt in out source destination
48 4316 DROP icmp -- * * 0.0.0.0/0 0.0.0.0/0 icmptype 3
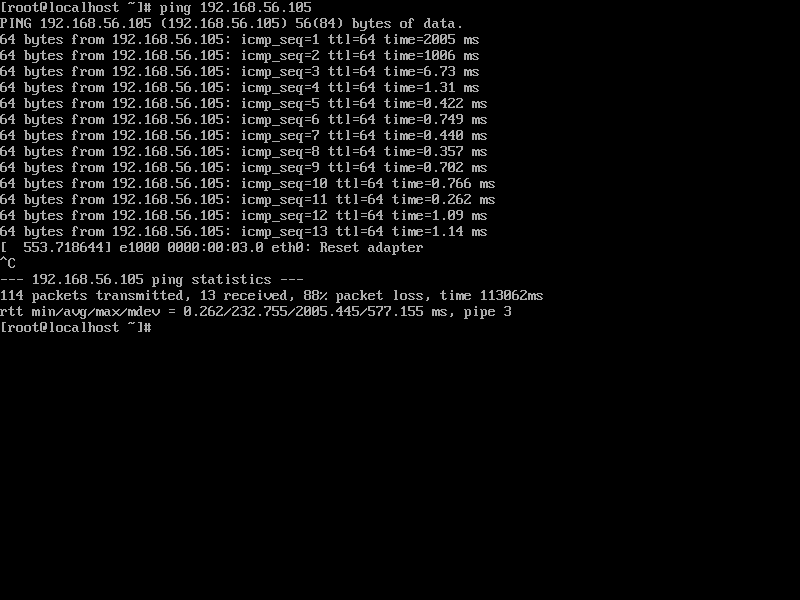
2. iptable 적용 전 후 스샷
(1) 적용 전

(2) 적용 후
3. ssh. 접속속도(만약 iptables 설정 후 접속 속도가 느린 경우 설정)
(1) sed를 이용하여 수정
[root@test ~]# sed -i s"/GSSAPIAuthentication yes/GSSAPIAuthentication no/" /etc/ssh/sshd_config
[root@test ~]# sed -i s"/#UseDNS yes/UseDNS no/" /etc/ssh/sshd_config
(2) 직접 vi에서 수정
[root@test ~]# vi /etc/ssh/sshd_config
GSSAPIAuthentication yes -> GSSAPIAuthentication no 로 수정
#UseDNS yes -> UseDNS no 로 수정
[root@test ~]# systemctl restart sshd
'Linux' 카테고리의 다른 글
| rhel8 Localrepo (0) | 2022.06.07 |
|---|---|
| Linux VIP 설정 방법 (0) | 2020.12.04 |
| find -exec로 파일 삭제 하는 법 (0) | 2020.10.22 |
| lvm extend 로 lvm 용량 확장 하는 법 (0) | 2020.10.21 |
| User Passwd 변경 스크립트 (0) | 2020.08.04 |